Automations
Use the Automations window to create and play back automated parameter moves. An automation drives a value over time — a channel trajectory in space, a mixer parameter, or a MIDI/OSC control — and can be linked to a cue so it starts on GO.
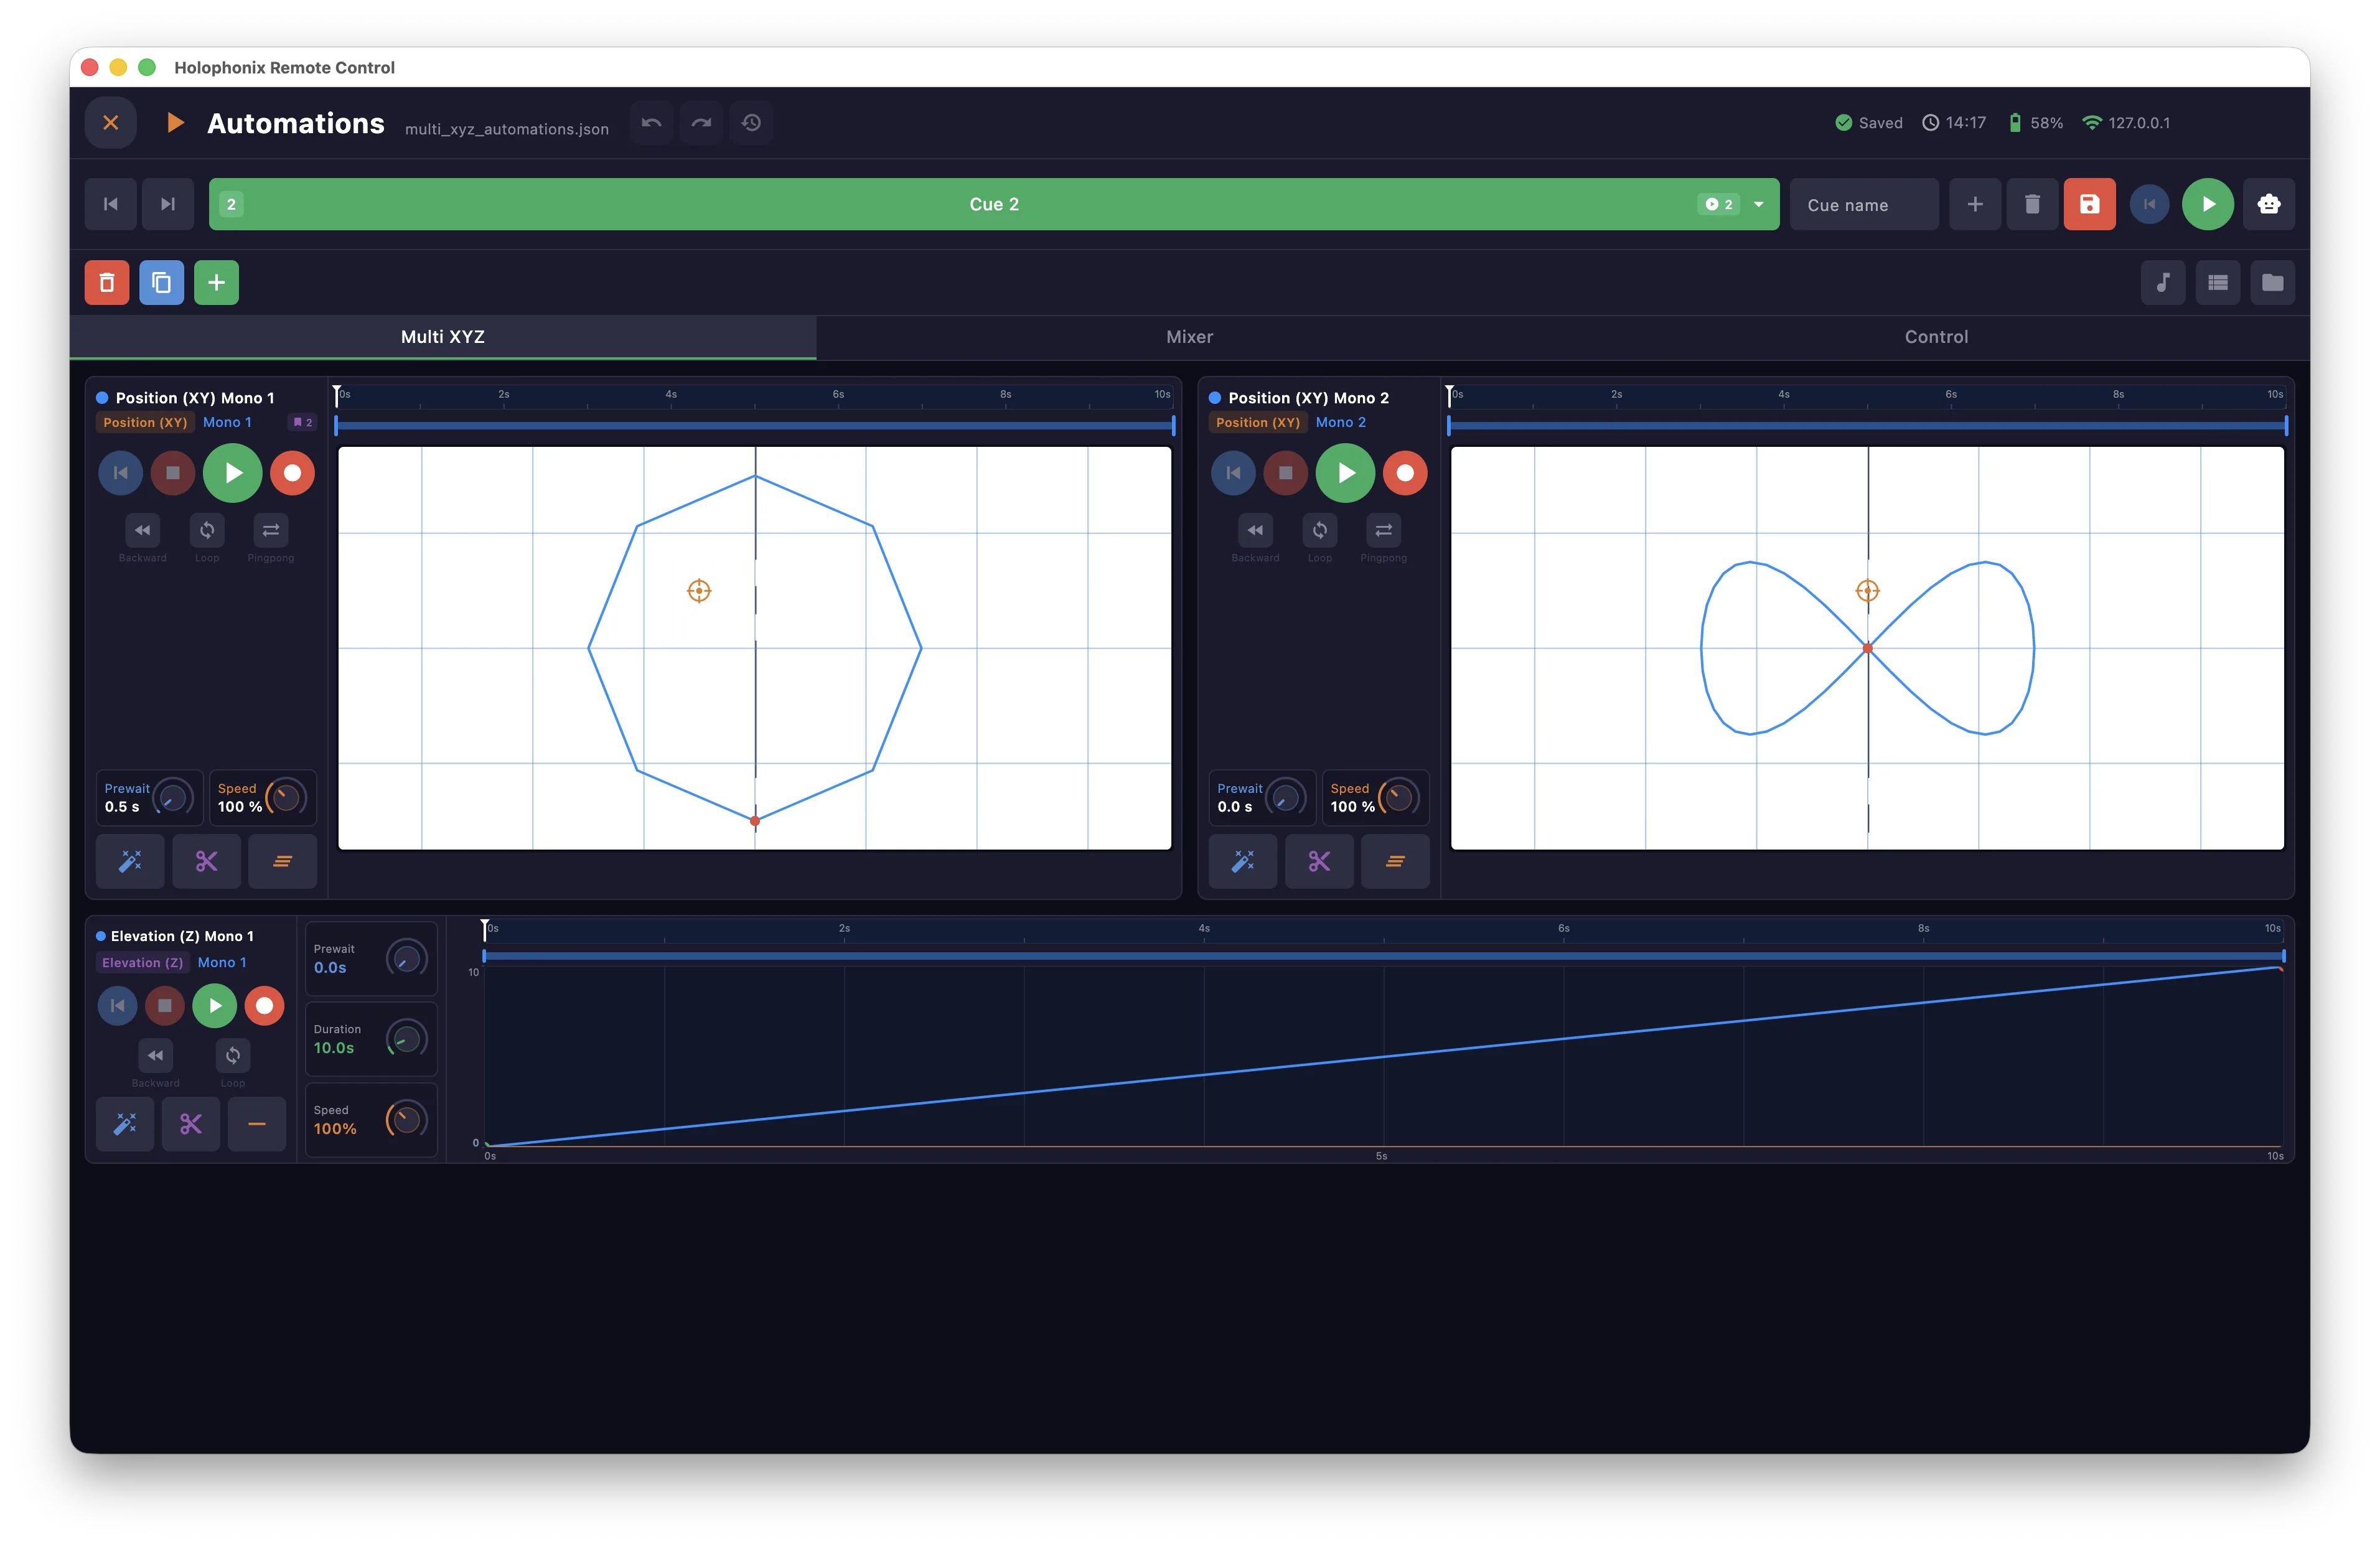
Automation categories
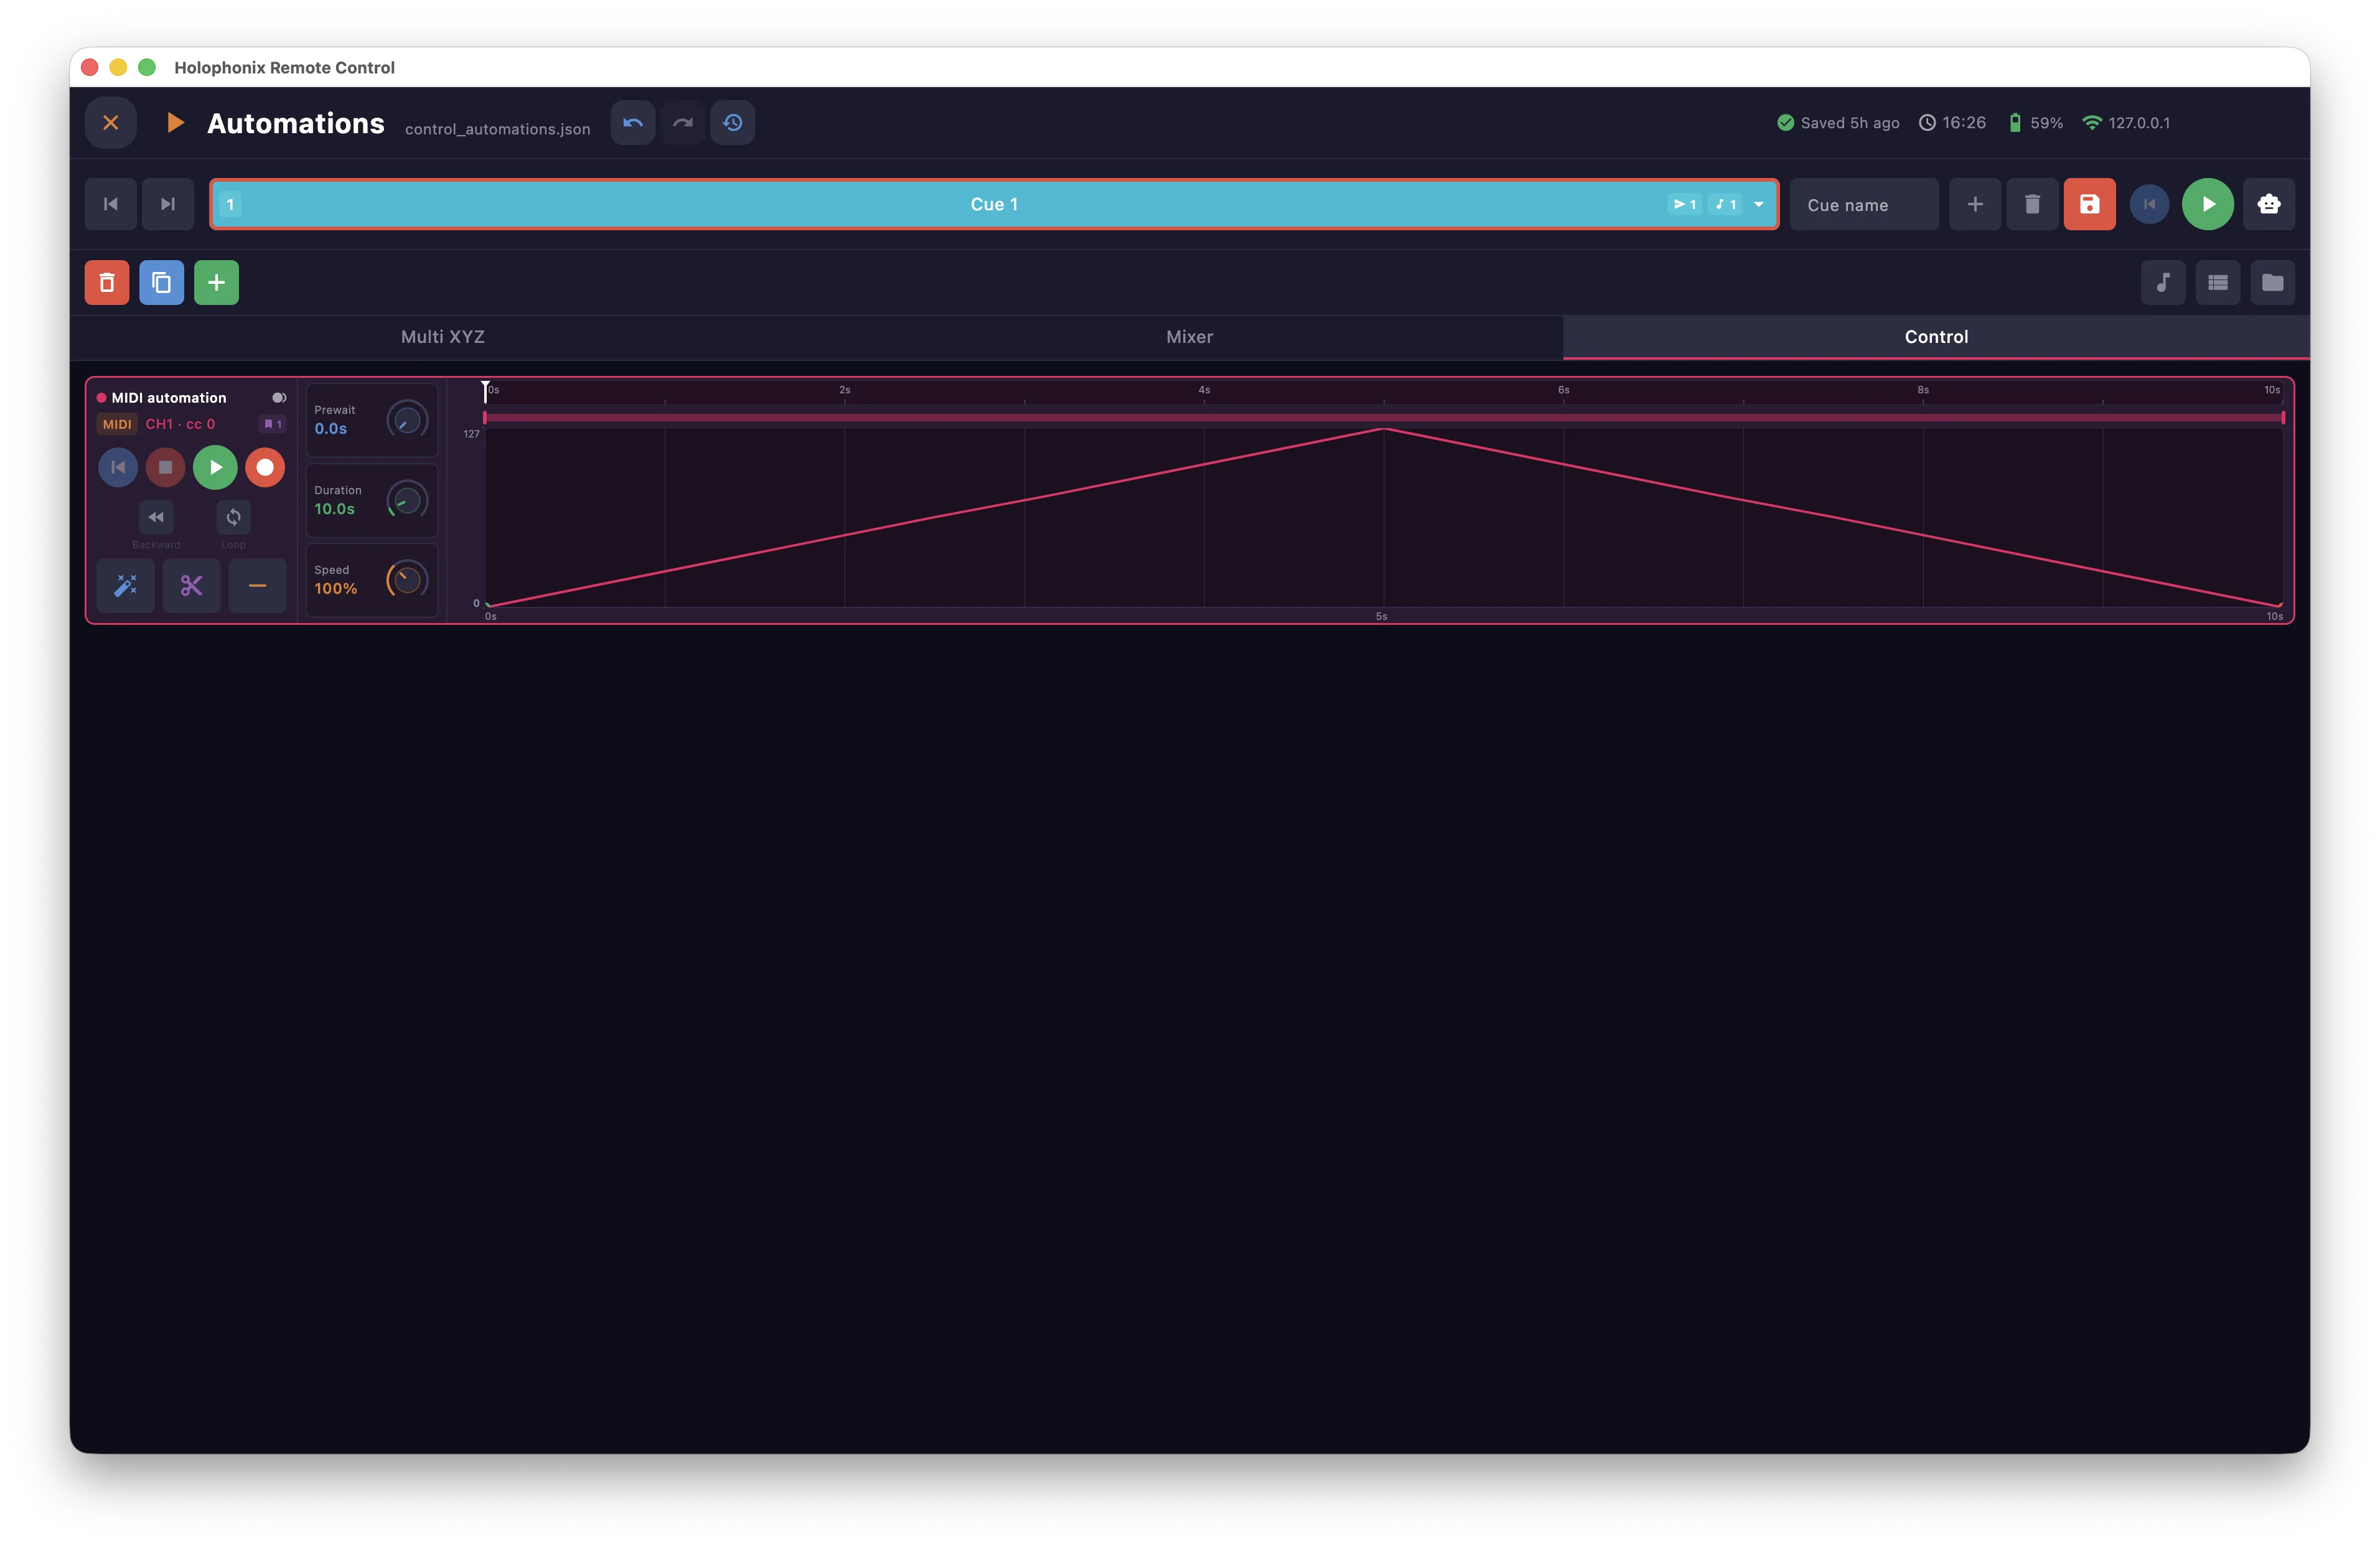
Automations are grouped in three tabs:
- Multi XYZ — channel Position (XY), Elevation (Z) and Width trajectories.
- Mixer — mixer parameter moves.
- Control — MIDI and OSC automations that send values over time.
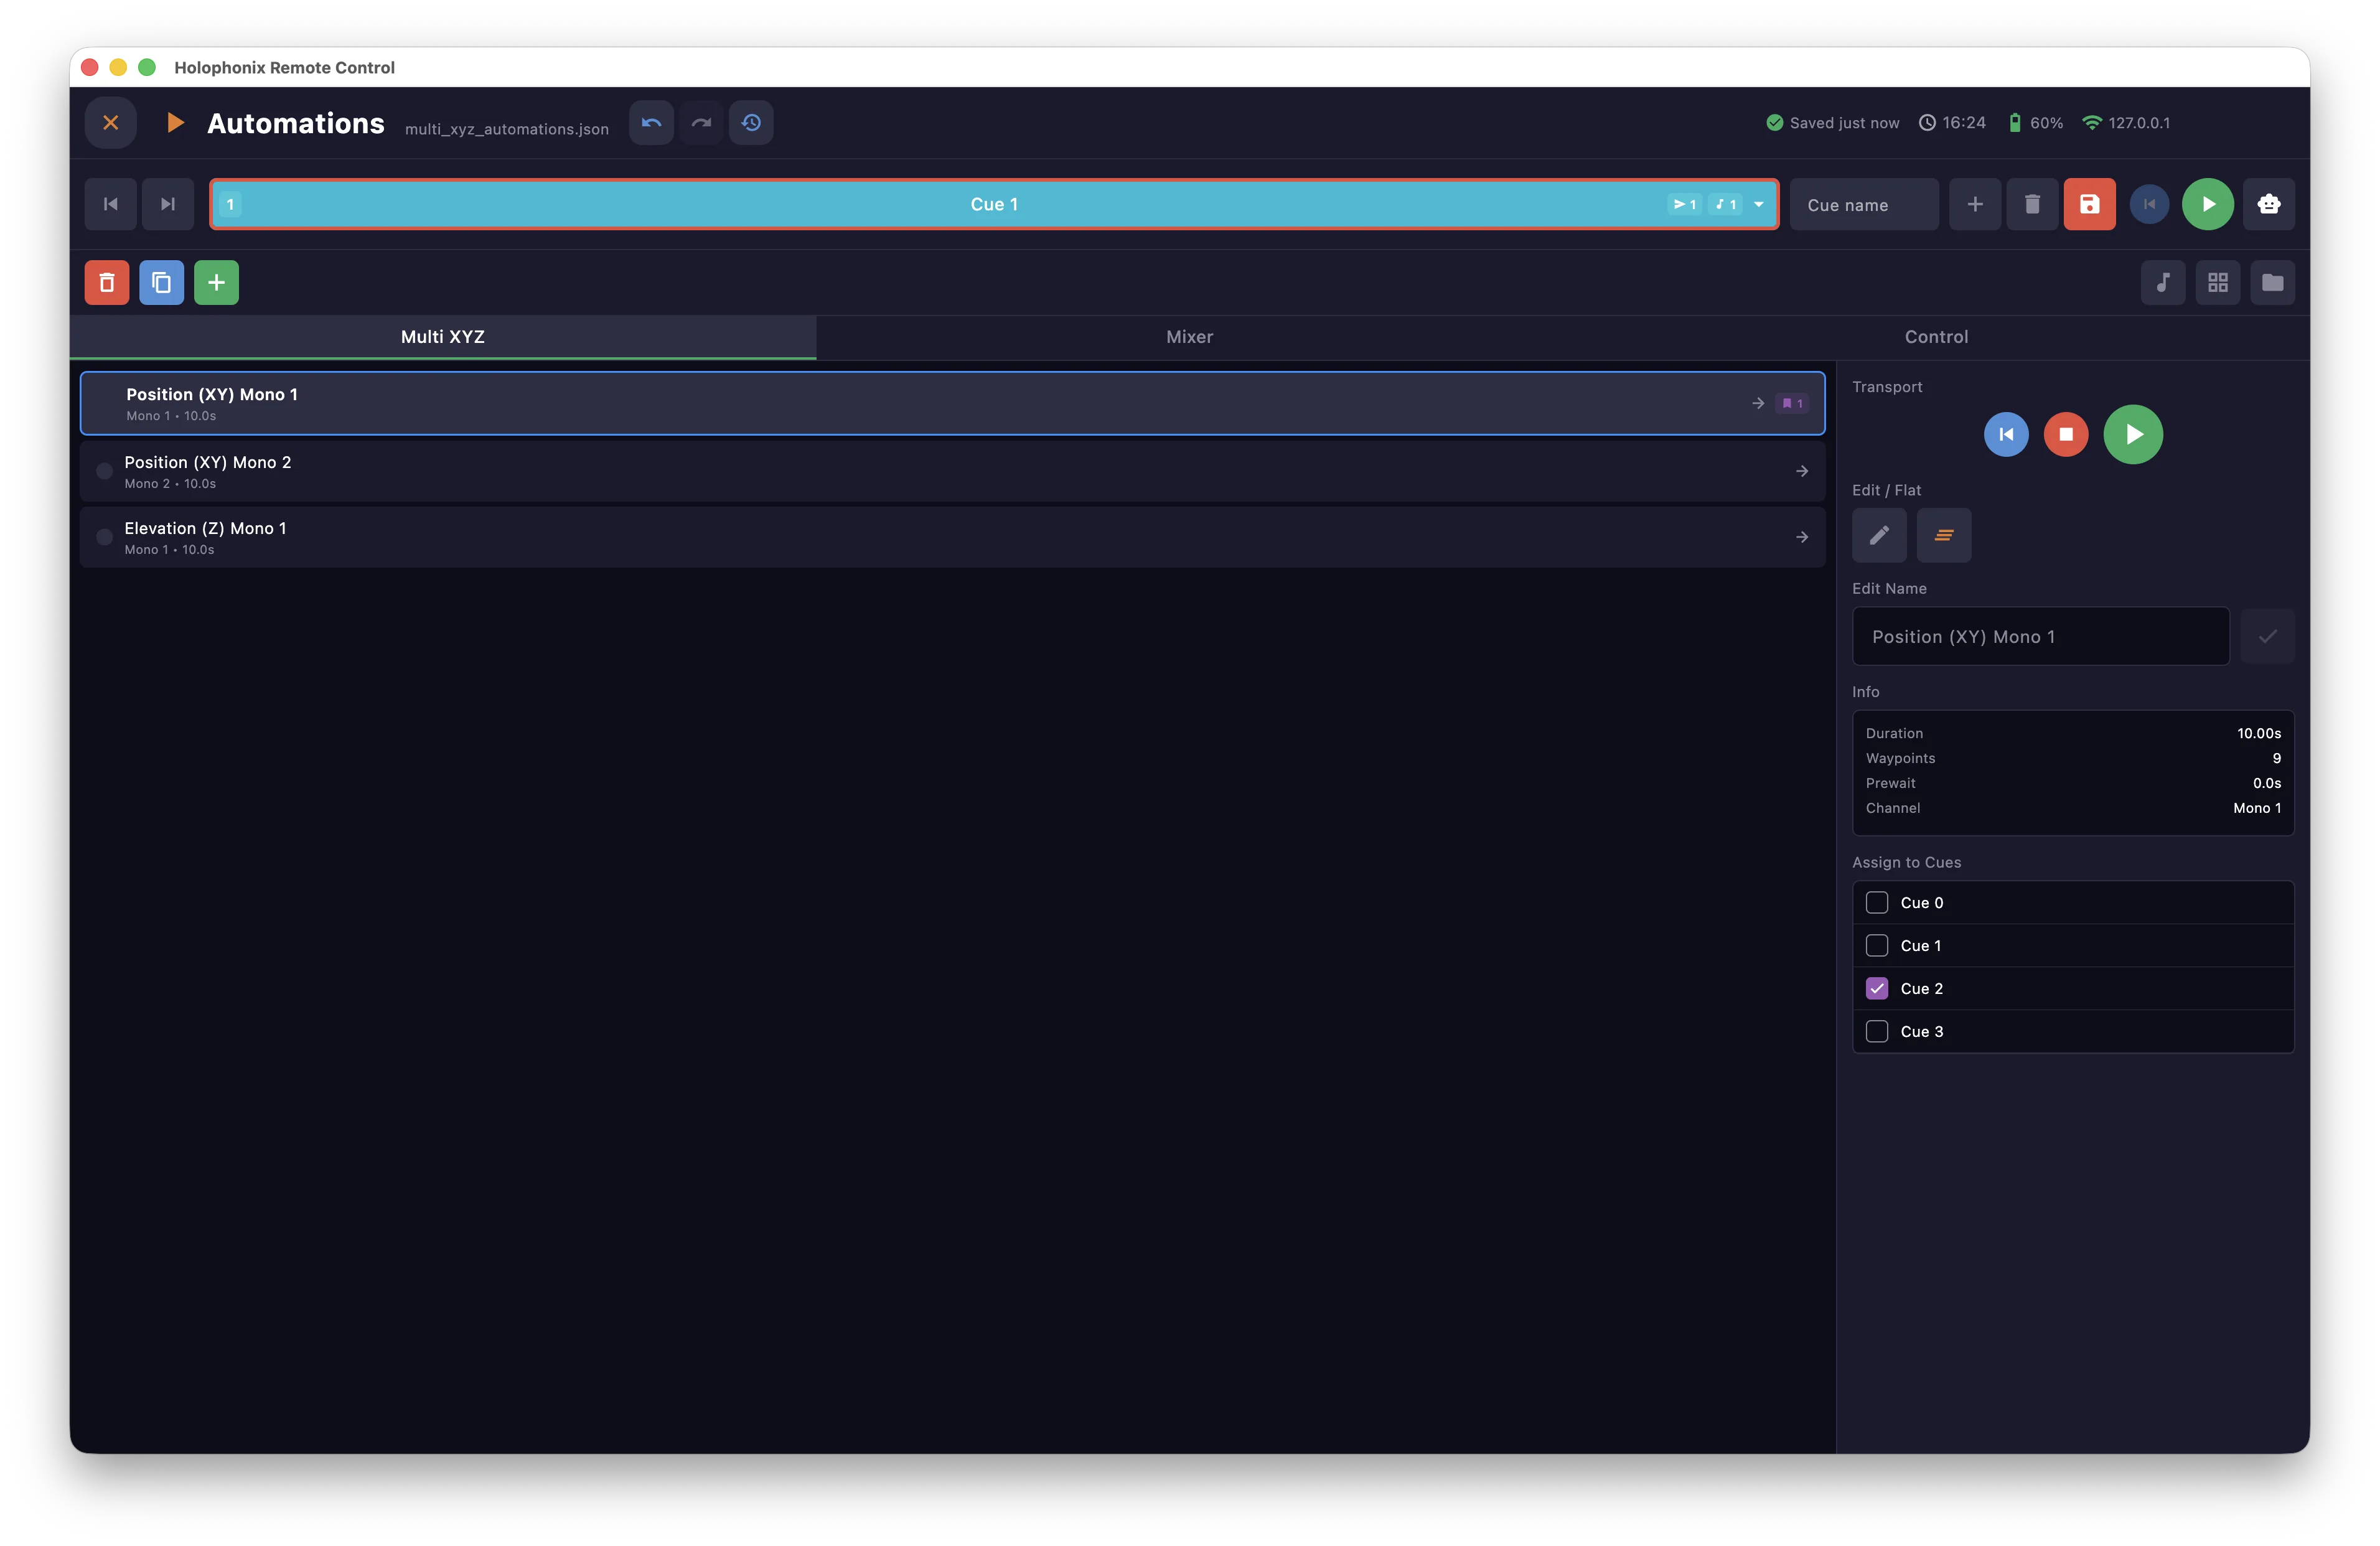
View modes
The window has two view modes, toggled for the whole window:
- Card — each automation appears as a card with its own transport and a live preview of its path.
- List — a compact list, with a detail panel for the selected automation: name, info (duration, waypoints, prewait, channel) and Assign to Cues.
Creating an automation
Create an automation in one of three ways:
- Record mode — turn on record in this window, perform the move, and the path is captured live as you go.
- Record from a window — use the Rec button in the Multi XYZ or Mixer window to capture the moves you make there.
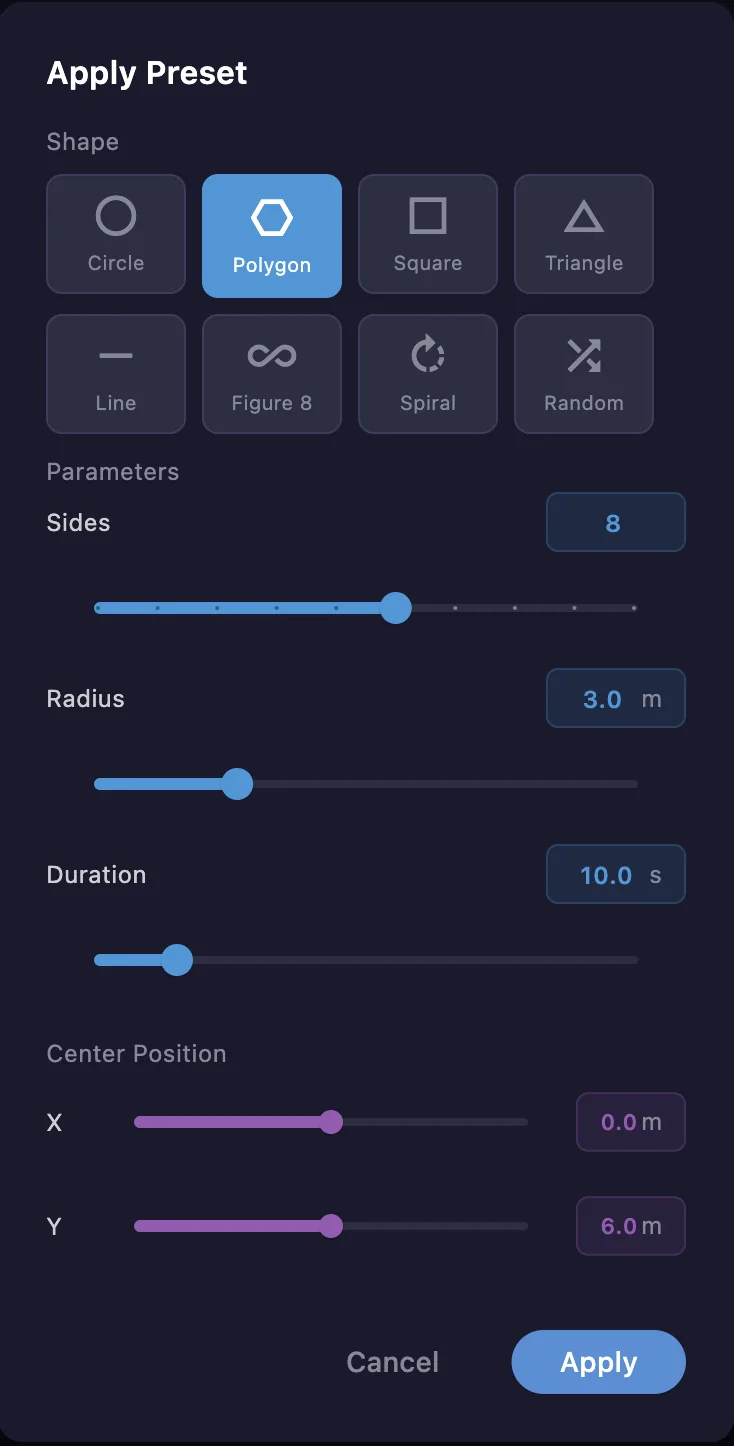
- Preset — start from a preset and adjust its parameters. The presets on offer and the parameters to set depend on the automation type.
Editing an automation
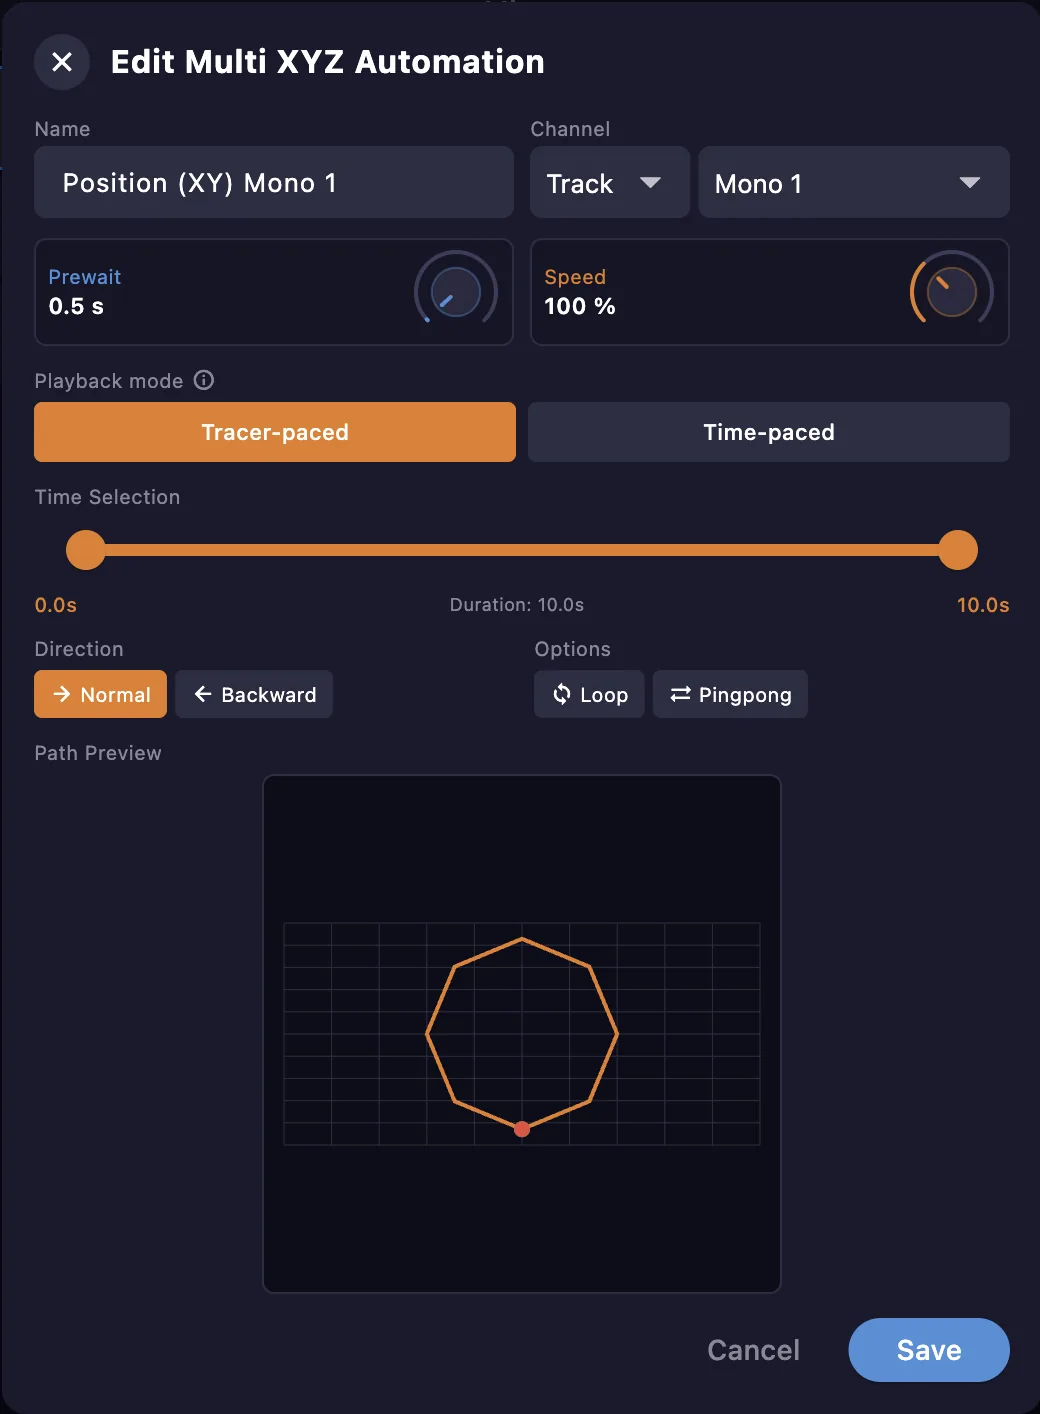
Open the editor — from the Edit button on an automation's card, or from the list view — to edit the following:
- Name — rename the automation.
- Channel — the channel the automation is assigned to.
- Prewait — a delay before playback starts.
- Speed — a playback-speed multiplier.
- Playback mode:
- Tracer-paced — plays back at the pace of the original trace, reproducing its slowdowns and accelerations.
- Time-paced — plays back at a constant speed.
- Time selection — play only a chosen portion of the automation.
- Direction — play Normal (start to end) or Backward (end to start).
- Loop — repeat the automation continuously.
- Ping-pong — play forward, then backward, repeatedly.
A path preview shows the result over the stage background.
Assign to cues
Link an automation to one or more cues so it starts when you fire them with GO — from the Assign to Cues panel in the list view, or from the cue's own links.
Cues
See the Cues window for cue linking.
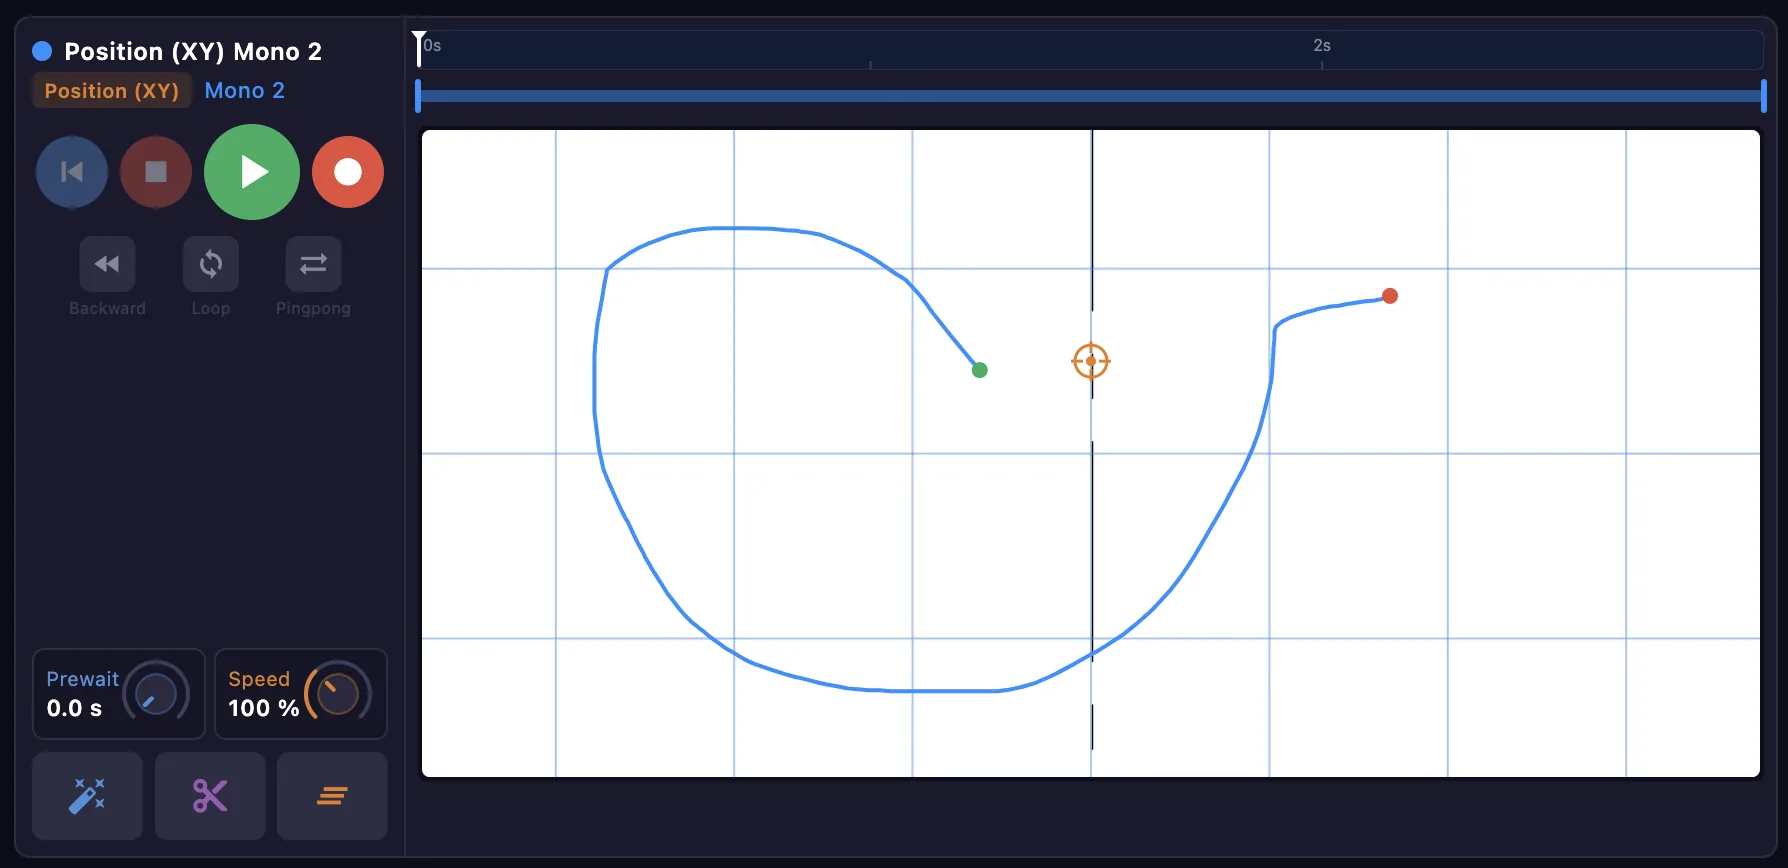
The automation card
In card view, each automation has its own controls and a live preview.
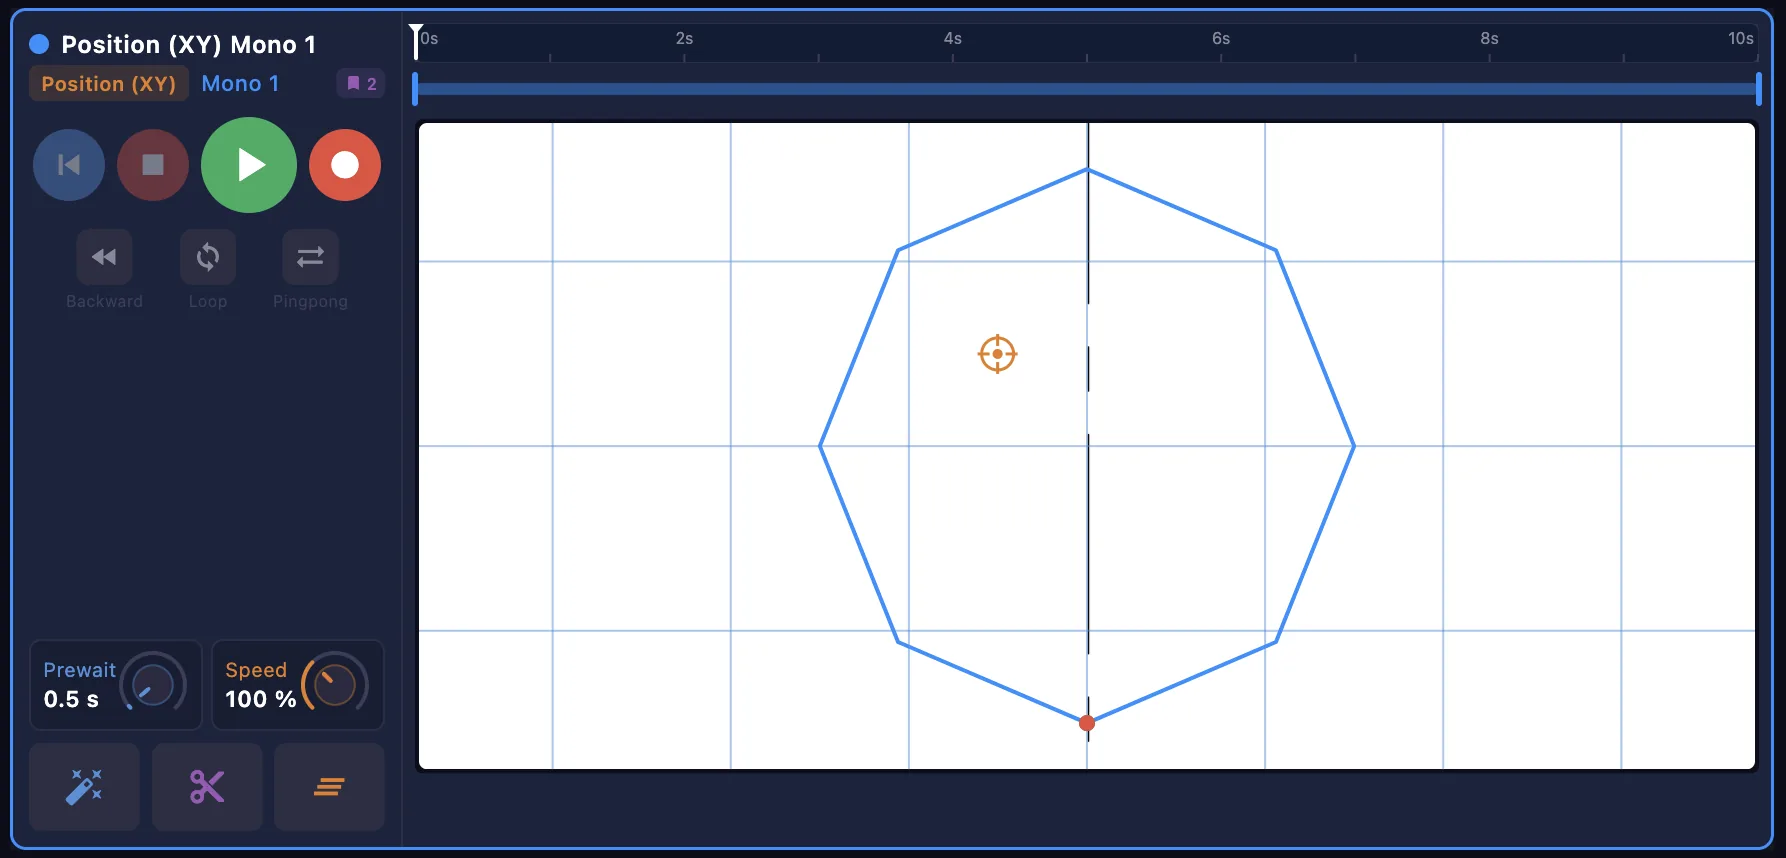
- Transport — play, stop, skip to start, and record.
- Backward, Loop and Ping-pong — quick mode toggles.
- Prewait and Speed — the same settings as in the editor.
- A timeline runs across the top, with a playhead marking the current position in time.
- In the preview, a target shows the channel's current position. Start tracing a new path near the target and it snaps to the point (magnetism).
- Preset (wand) — apply a preset shape.
- Cut (scissors) — when you have adjusted the timeline bounds (time selection), trim the automation down to the remaining part.
- Flat — clear the automation's curve.
Cue strip
A cue strip gives quick access to the cue functions here — select a cue, navigate the list, Save, GO and Autoload. See the Cues window for the full detail.
Shared tools
Like other windows, this one includes MIDI map mode and an automation history to step back through recent changes.