Sequencer
Use the Sequencer to build a timed transition from one cue to the next. Each parameter that changes between the two cues gets its own lane with a fade curve and its own timing, so a single GO can morph the whole stage over time instead of jumping.
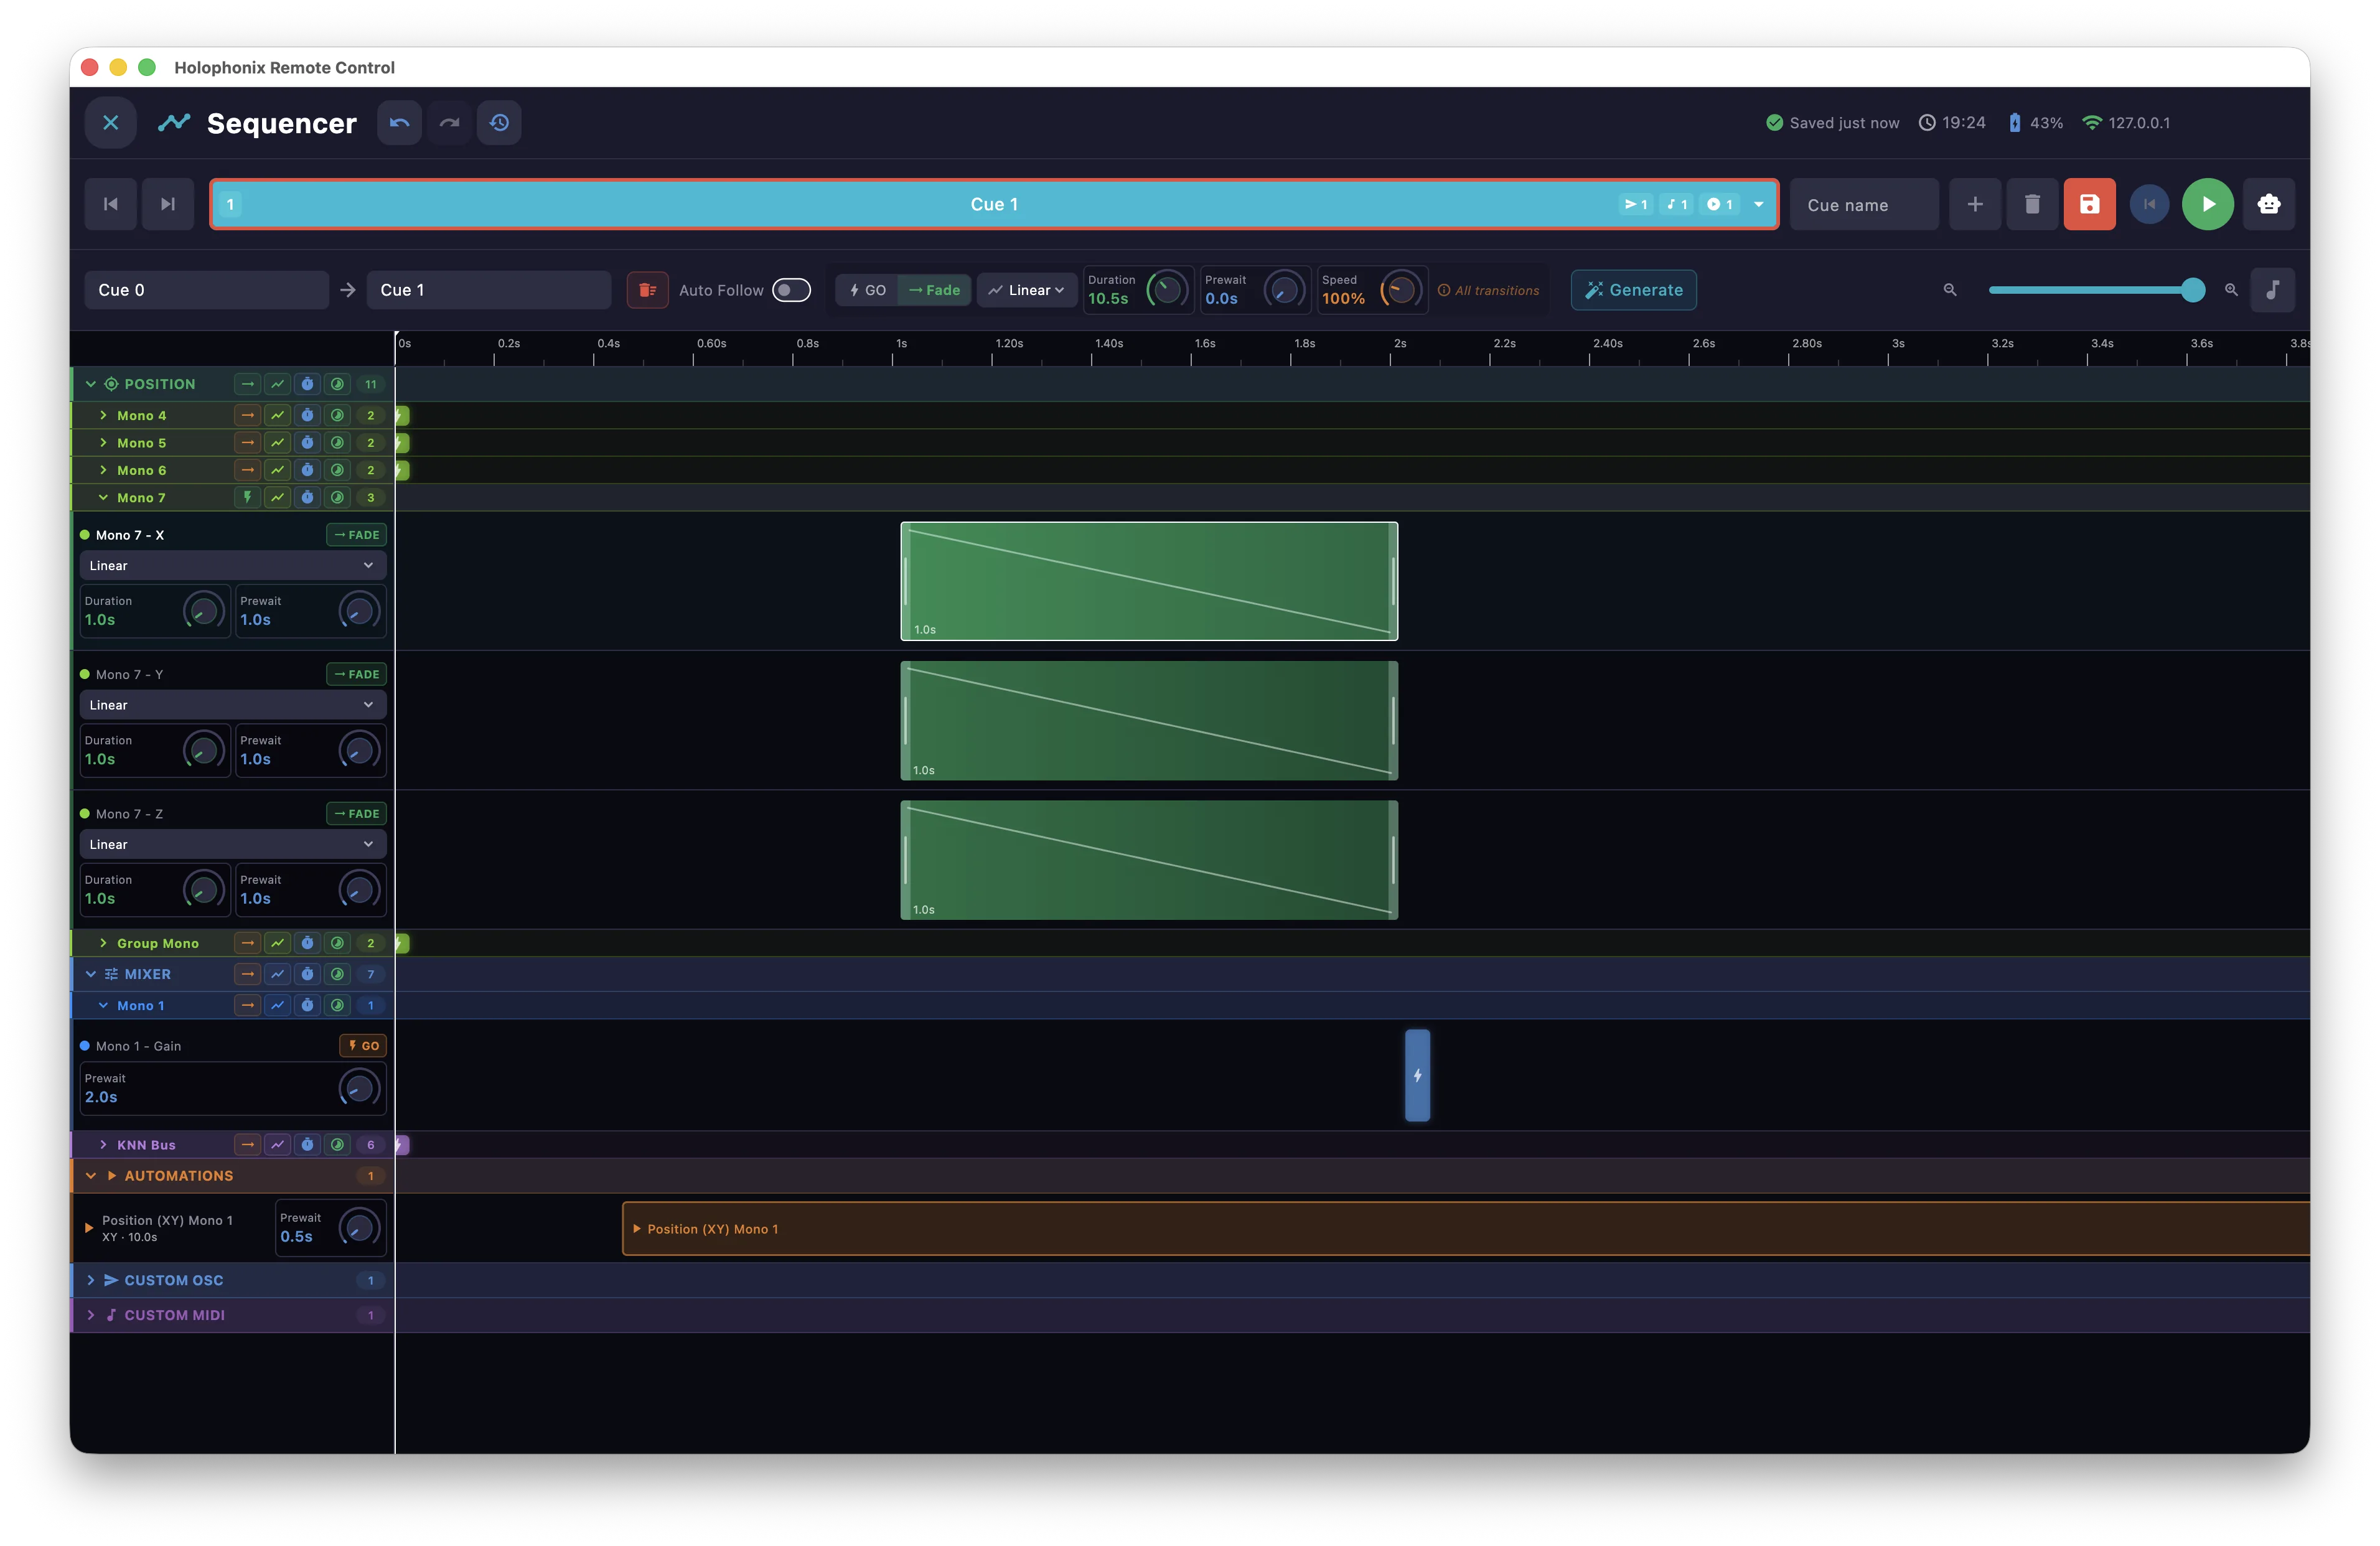
Source and destination
A transition always runs between two consecutive cues in the list — the toolbar shows the pair (for example Cue 0 → Cue 1); you don't choose them freely. The transition is stored in its destination cue, so reordering the cue list keeps each transition with the right cue.
The toolbar holds the transition's global settings — its mode (Fade or GO), the fade curve, Duration, Prewait and Speed. The All transitions label shows that these apply to all lanes at once. Toggle Auto Follow to chain into the next transition.
Generating the transition
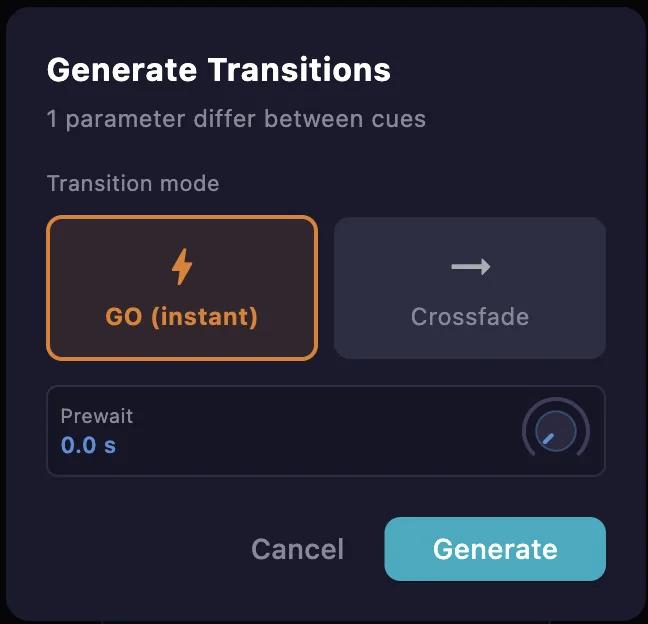
Press Generate to build the lanes automatically for the parameters that differ between the two cues. Choose the transition mode — GO (instant) or Crossfade — and a prewait.
Lanes
Each changed parameter becomes a lane on the timeline, grouped by category — Position, Mixer, Automations, Custom OSC and Custom MIDI. Each lane has its own:
- fade curve — Linear, Exponential, Logarithmic or S-curve,
- Duration and Prewait,
- block on the timeline, which you can move and resize.
Boolean parameters (mute, solo…) snap instantly rather than fading. Use the zoom control to scale the timeline to the resolution you need.
Playback
Fire the transition with GO and follow it on the timeline. Set a Speed multiplier, and turn on Auto Follow to chain automatically into the next transition.
Cue strip
A cue strip gives quick access to the cue functions here — select a cue, navigate the list, Save, GO and Autoload. See the Cues window for the full detail.
Shared tools
Like other windows, this one includes MIDI map mode and a sequencer history to step back through recent changes.